
こちらのサイトのメロディーとともにお楽しみください。
正式なタイトルはVisual StudioのXamarinでAndroidアプリを作る(#5) 加速度センサーを使うです。
5回目となる今回は、加速度センサーを使ってみます。developer.xamarin.comのレシピを参考にします。
今回はMainActivityの全コードを掲載します。
MainActivity
using System;
using Android.App;
using Android.Content;
using Android.Runtime;
using Android.Views;
using Android.Widget;
using Android.OS;
using Android.Hardware;

namespace AcceleGet
{
    [Activity(Label = "AcceleGet", MainLauncher = true, Icon = "@drawable/icon")]
    public class MainActivity : Activity, ISensorEventListener
    {
        static readonly object _syncLock = new object();
        SensorManager _sensorManager;
        TextView _sensorTextView;

        protected override void OnCreate(Bundle bundle)
        {
            base.OnCreate(bundle);
            // Set our view from the "main" layout resource
            SetContentView(Resource.Layout.Main);
            _sensorManager = (SensorManager)GetSystemService(Context.SensorService);
            _sensorTextView = FindViewById<TextView>(Resource.Id.accelerometer_text);
        }
        public void OnAccuracyChanged(Sensor sensor, [GeneratedEnum] SensorStatus accuracy)
        {
            //throw new NotImplementedException();
        }
        public void OnSensorChanged(SensorEvent e)
        {
            lock (_syncLock)
            {
                _sensorTextView.Text = string.Format("x={0:f}, y={1:f}, z={2:f}", e.Values[0], e.Values[1], e.Values[2]);
            }
        }
        protected override void OnResume()
        {
            base.OnResume();
            _sensorManager.RegisterListener(this,
                                            _sensorManager.GetDefaultSensor(SensorType.Accelerometer),
                                            SensorDelay.Ui);
        }
        protected override void OnPause()
        {
            base.OnPause();
            _sensorManager.UnregisterListener(this);
        }
    }
}
センサーを使うにはISensorEventListenerインターフェースをインプリメントします。
ISensorEventListenerインターフェースをインプリメントする場合は、OnAccuracyChangedメソッドとOnSensorChangedを実装する必要があります。
加速度センサーを使うには、OnResumeメソッドで、SensorType.Accelerometerを指定して、SensorManagerのRegisterListenerでリスナーを登録します。SensorDelay.Uiはセンサーの値を取得する間隔の指定です。
OnPauseメソッドではUnregisterListenerでリスナーの登録を解除します。
OnSensorChangedメソッドで加速度センサーの値を取得して画面に表示します。lockで他のスレッドから更新されないように排他制御しています。
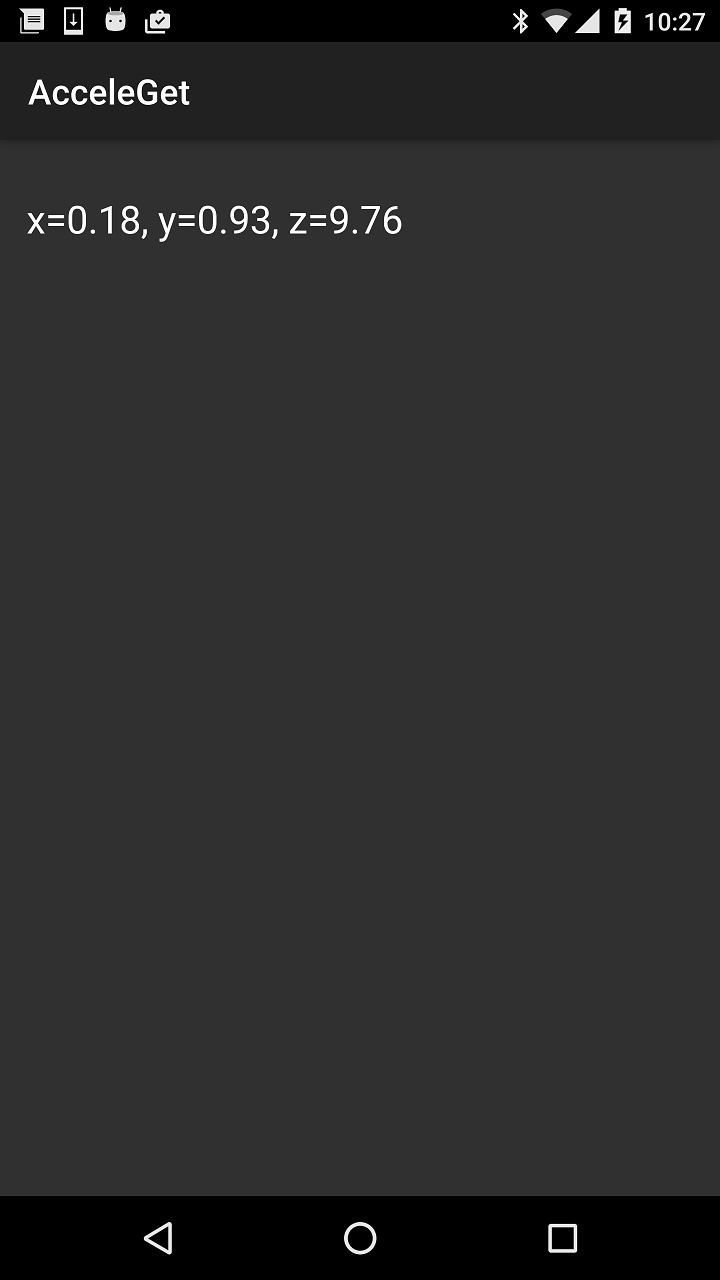
実行画面